This is a guest post by Brennan Anderson of Brennan Anderson Photography, a Chicago-based portrait and urban landscape photographer.
Growing up in the vanilla suburbs of St. Paul, Minnesota, I jumped at the rare opportunity to pack my DSLR, hop in the family Volvo and photograph the dynamic streets of downtown Minneapolis.
My current situation is totally different: living and working in the heart of Chicago means a daily dose of unusual sights, sounds and smells.
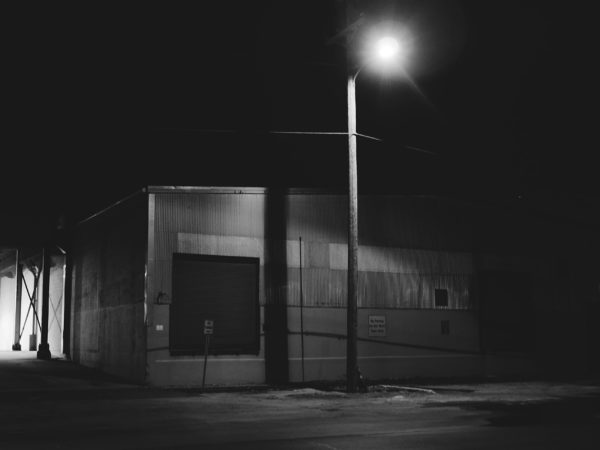
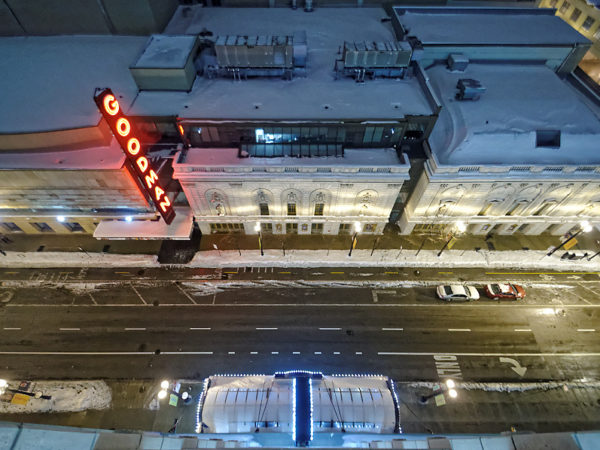
After moving to Chicago, it didn’t take long for me to venture out into the windy, glowing night city—equipped with my camera and a bag full of glass. Six years later, if I could ditch my day job and focus on selling my night street prints for a living, I would—and in a heartbeat.
Over the years, I’ve discovered many ways to take my night street photography to the next level:
Pick the right lens(es)
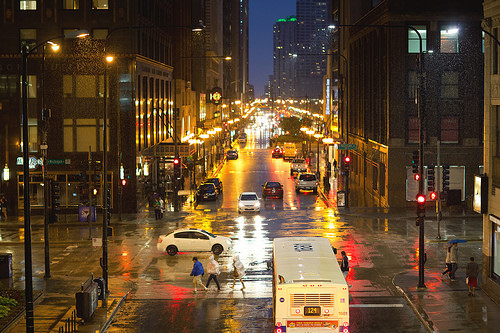
Do yourself a favor: Go buy a fast prime lens. If you have the money, go all out and buy the Canon 35mm f/1.4L, the 85mm f/1.2L II, or the Nikon equivalent. But, if you want to save money, buy a 35mm f/2, a 50mm f/1.8 or a 50mm f/1.4 instead.
Primes, also known as fixed focal length lenses, tend to have large maximum apertures and are a night street photographer’s best friend. The difference between a f/1.2 lens and a f/3.5 lens is considerable; while you’ll be able to shoot hand-held with a fast prime, shooting with a kit lens will likely tie you to your tripod. Ditching the kit lens leads to greater mobility.
Work your depth of field
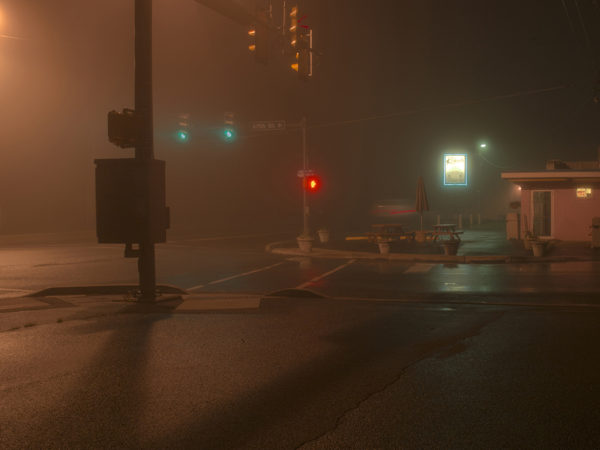
City nights are full of unique lights and patterns. Frame your shots to use this to your advantage.
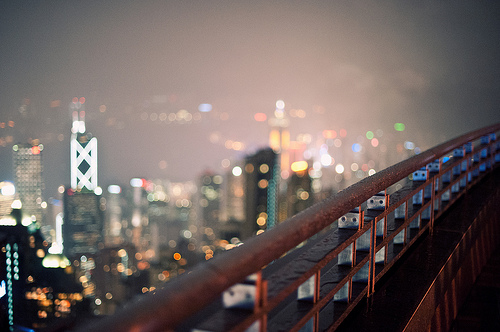
In the above shot, I wanted to make a unique picture of an often-shot scene. To add my own twist, I focused on the wet railing and let the night skyline blur out. I knew that with my f/1.4 aperture, I could open up my lens and leave enough depth of field to let the iconic Bank of China Tower skyscraper remain an important element of the shot.
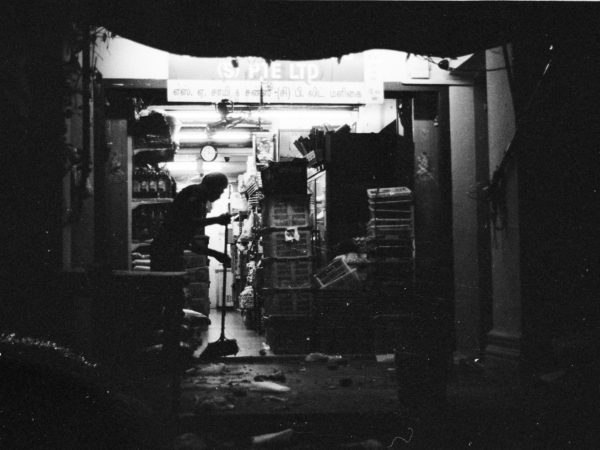
An ugly background doesn’t have to mean a ruined shot. With a fast prime, you can neutralize distracting elements and add visual interest.
Shoot during blue hour
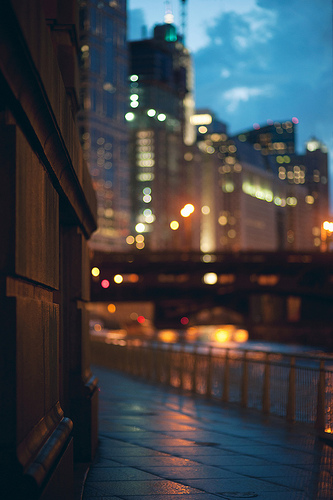
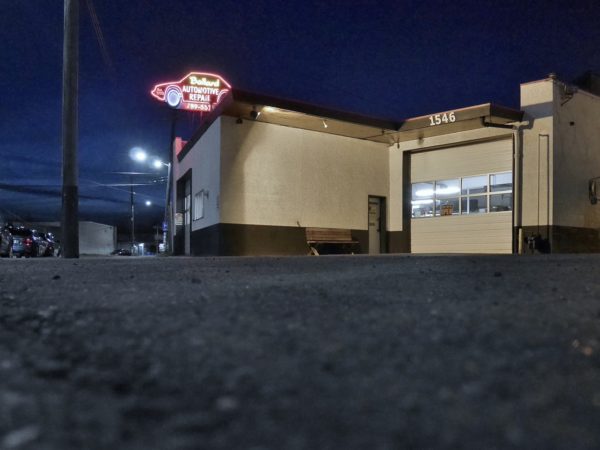
Don’t wait for the sky to go completely dark. Many of the most stunning night street shots were made during the blue hour—also known as twilight.
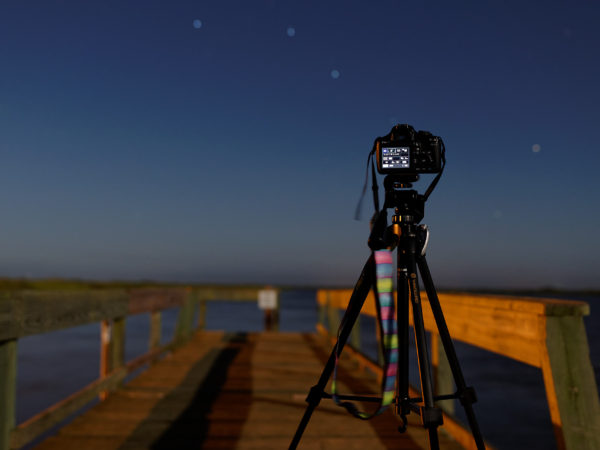
Shooting when the sky still has some life helps city buildings stand out and shine like never before. Because blue hour light levels are typically low, if you don’t have a fast lens, use a tripod. If you don’t have a tripod, set your camera down on a sturdy surface, turn on your camera’s self timer, compose and fire away.
A setting sun means your work is just beginning.
Watch your surroundings
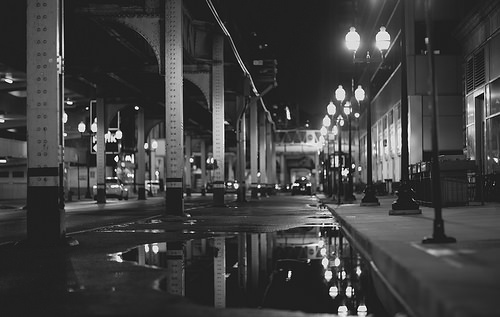
By all means, explore new sections of your city and expand your horizons, but when you’re carrying hundreds or thousands of dollars worth of gear, you’ve got a huge target on your back. So be careful and never pack more gear than you need. Also, roaming the streets with a few buddies is always a smart—and safe—idea.
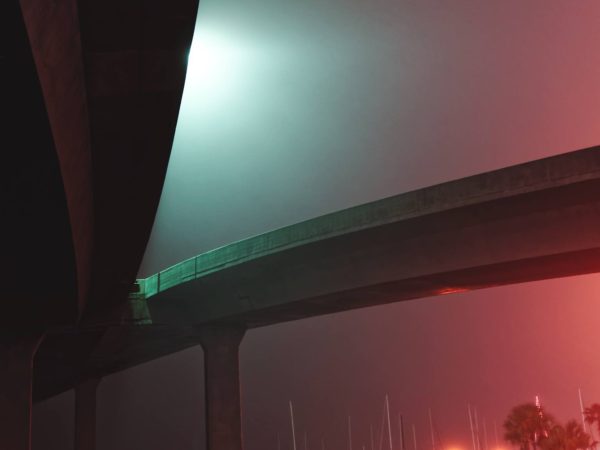
Night street photography is about turning ordinary urban scenes into works of art. If you pick the right lenses, shoot at the right time, find the best light and stay safe, you’re well on your way to making more compelling, polished and stylized night street images.
Originally published at: Brennan Anderson Photography

